Our challenge this week was to create a multi-photo layout using two of our own techniques and giving a little how-to on them. It was great timing for me since I've been toying with the idea of taping some how-to videos for you. I wasn't able to do that this time around but hopefully next time you'll get to see and hear me do my thing in action.
First of all, here's the layout I will be walking you through:
Title: Flying High

Both of my techniques involve masking. I love masks because they are SO versatile. Truly the only limits to what you can do with them is your own imagination. They are also inexpensive and last forever! A scrapper on a budget's gotta love that!!
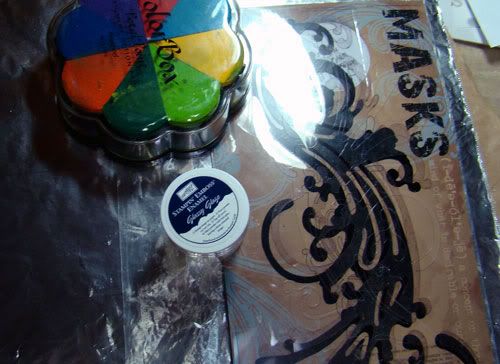
For the first technique you will need a piece of aluminum foil, a mask, ink, clear embossing powder and a heat gun.
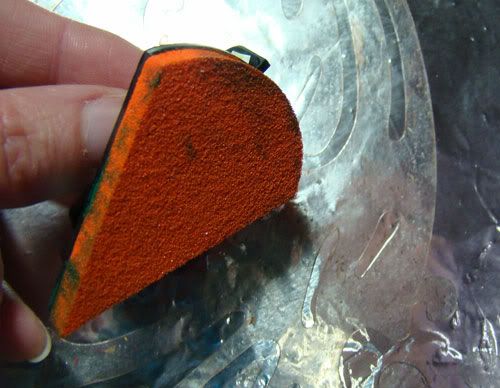
1. Lay your mask down on top of the piece of aluminum foil. You don't need to worry about a few wrinkles. Choose your ink.
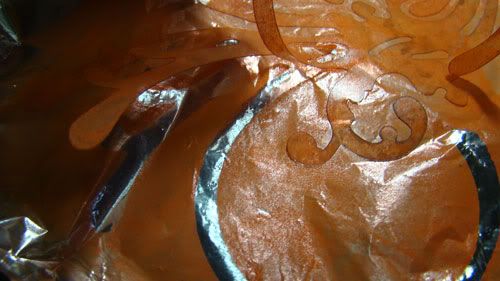
2. Generously tap the ink completely covering the mask and as much surrounding area as you'd like. Very carefully peel the mask off of the aluminum foil.
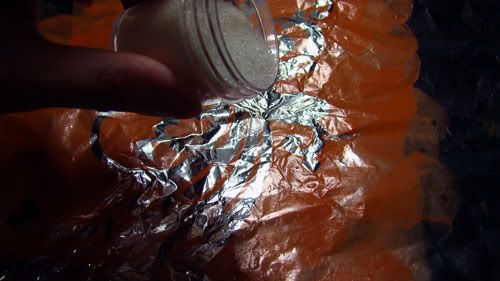
3. Sprinkle with clear embossing powder. I used a product called Glassy Glaze from Stampin' Up on mine.
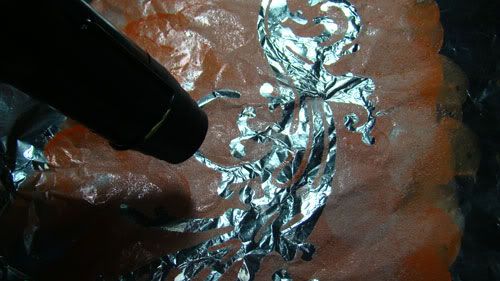
4. Heat with heat gun until glossy. You can repeat steps 1-4 multiple times to get a lot of texture or to apply multiple colors of ink. I applied two layers of ink and Glassy Glaze on my project.
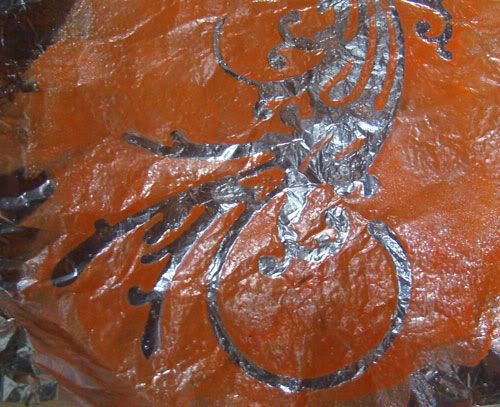
And here is the finished result. Cut your aluminum foil to size and mat it on patterned paper or cardstock. I chose a dark blue patterned paper.
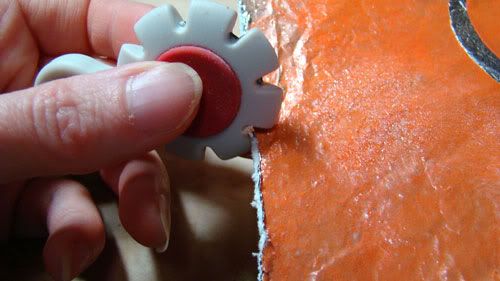
Distress the edges of your piece, allowing the paper underneath to show. Be rough and show lots of the color underneath...rip, tear, use your imagination here. The look can be very fun and funky! This piece is ready to use on your layout.
Now we'll move on to the next technique, creating a multiple layer title using masks and rub ons.
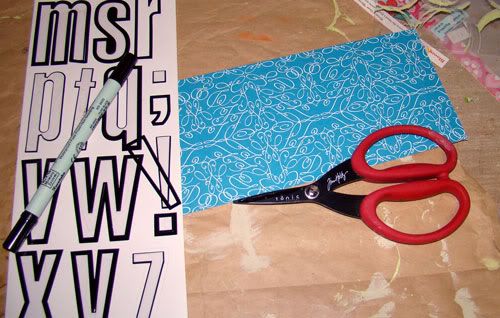
Gather some paper for your title. I used the same paper I backed my aluminum foil with in the previous technique. You will also need letter masks of your choice, a marker, foam adhesive, rub ons and a pair of scissors.
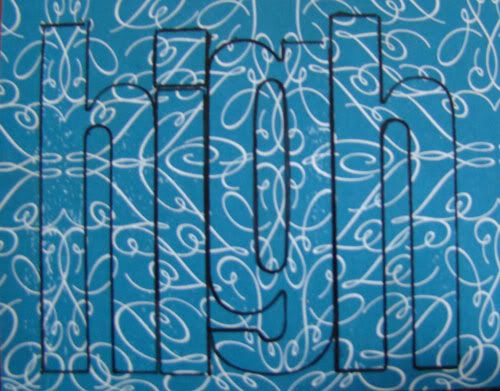
1. Place the letter masks on your paper to create your title. Trace each letter mask with a marker. Remove the masks.
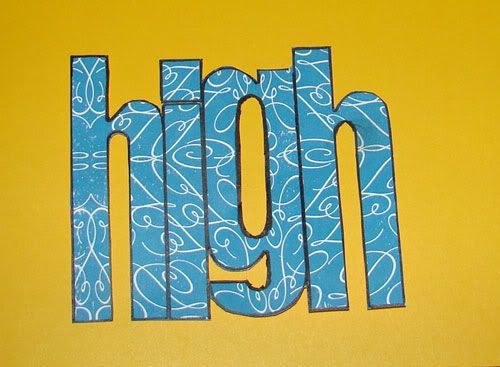
2. Cut the title out.
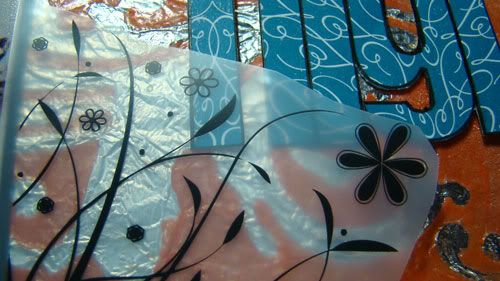
3. Place the title piece where you'd like it to appear on the layout. You don't want to stick it down yet but may want to apply a little removable adhesive as we work through this next step. Choose a rub on and lay it overtop of your title and layout. Apply rub on being careful not to move your title word.
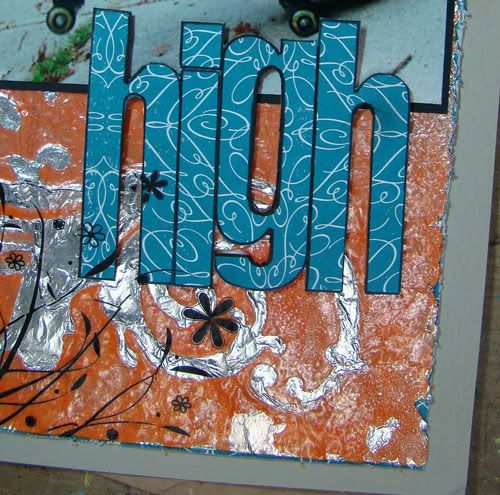
4. Once the rub on is applied remove the title from your layout and apply foam adhesive to its back. Now place your title back where you had it during the previous step. Now you have a full rub on spanning two different layers.
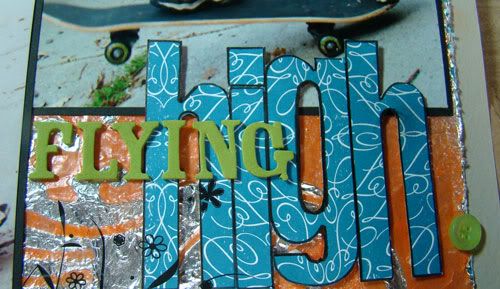
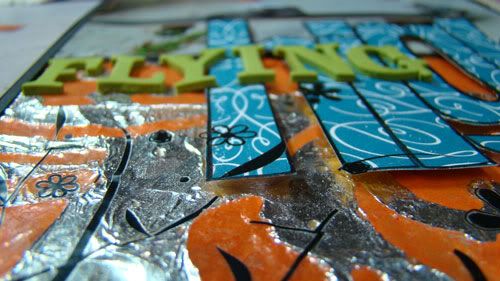
5. Add the rest of the title and you have a three-level title.
That's all there is to it!
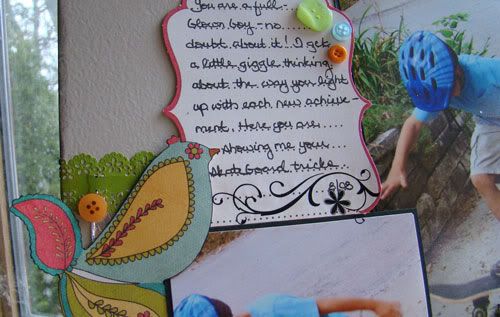
Now here's my finished project again and a few close ups.

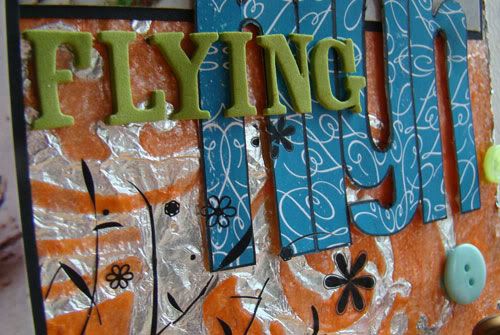
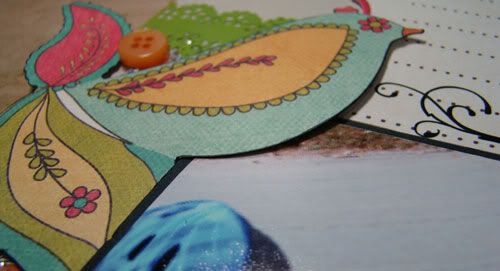
Here are a couple other examples of layouts using these techniques:
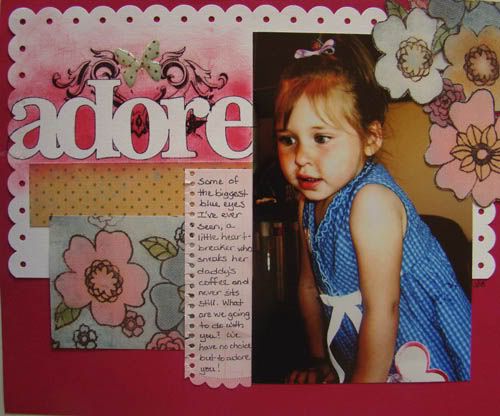
I applied letter masks to create my title. Outlined each letter and then rubbed around the letters with chalk. I then applied a rub on right on top of the masks, then peeled them away to reveal the white title letters.
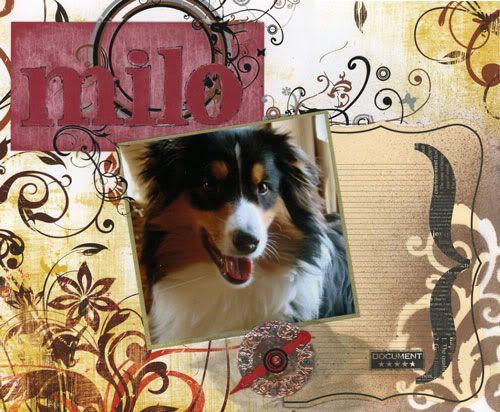
This one used letter masks, chalk and rub ons just like the previous example. I also used a mask in the bottom right of this page spraying over it with Glimmer Mist to give this look
I hope you've enjoyed these techniques and will put them to good use! If you do, please share your creations with me!
Thanks for stopping by!
.

No comments:
Post a Comment